Our home has a terracotta tile roof. This is one of the more challenging surfaces for solar panel installation. We were quite careful about choosing our installer, and went with a local company on the recommendation of someone who had used them in the past. We discussed with them the challenges of installation, and they asked us to source some replacement tiles in case of any breakage. Although they work carefully to avoid breaking any roof tiles, terracotta can be brittle, and so we sourced around 25 spare tiles.
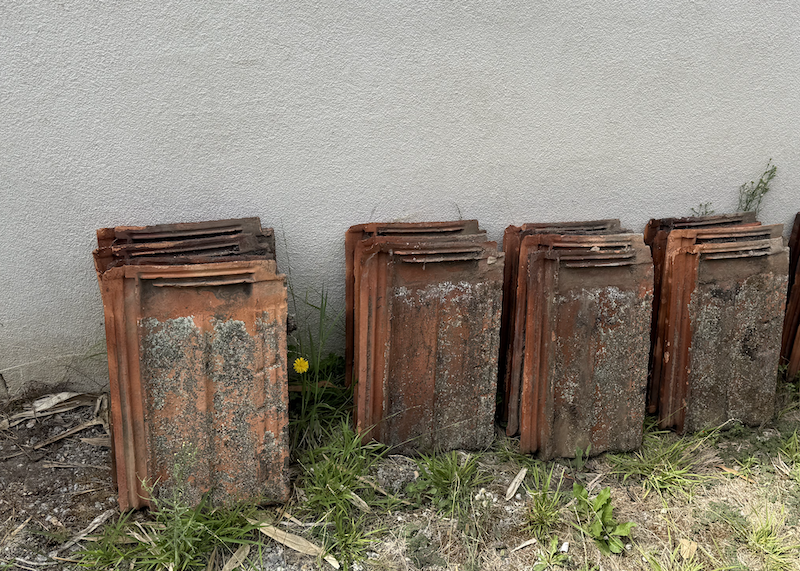
The tiles on our roof were made by a company in Ballarat which went out of business some time ago, so we had to source spares from a salvage company. Luckily these were fairly common in Melbourne homes in the past, and there was no difficulty in finding spares.
Panel installation
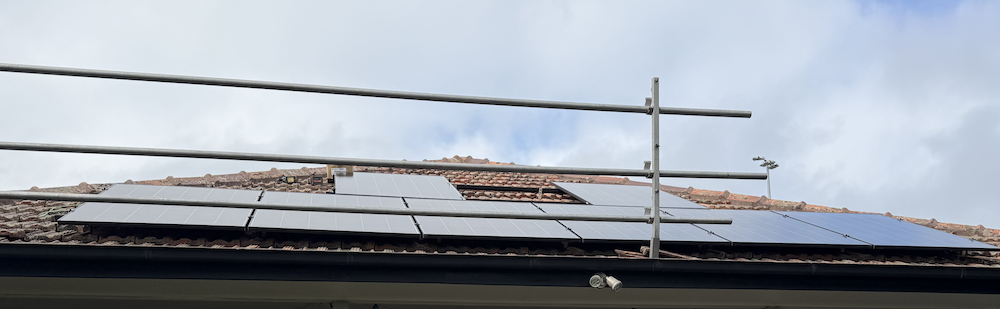
Our solar panel installation took place over two days. The installers mounted the panels on the first day. They also finished much of the electrical work on the panels, switchboard. They finished installing the battery on the second day. The above picture shows our North facing roof with 8 of the 9 tiles in place. Our system has 8 tiles facing East, 9 on the North facing roof, and 13 on the West facing roof.
Battery installation
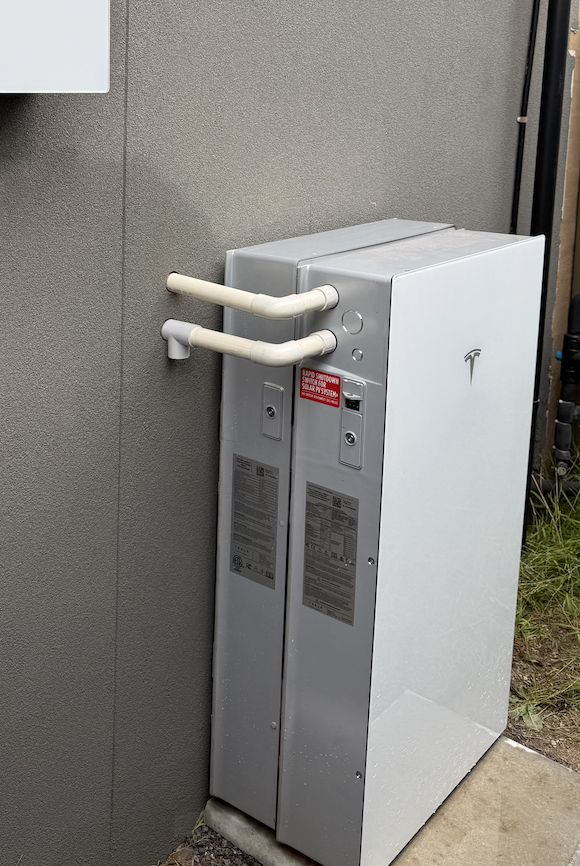
We situated the battery outside on or West facing wall. It is in a shaded area, and not far from the switchboard which is inside the house. In the end we opted for a Tesla Powerwall 3, giving a bit over 27 kWh of storage.
At the end of the second day, the system was operational, and the installer showed us how to use the application for the battery to operate the system.
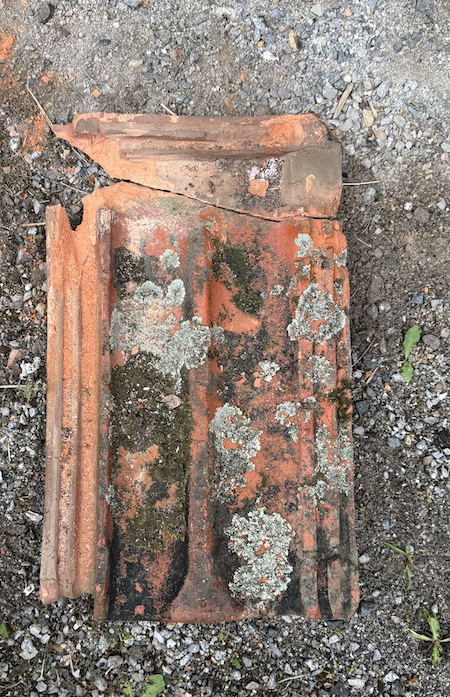
The installers were careful and only 3 tiles were broken and replaced. The next time it rained we discovered that a fourth tile had cracked, but the crack was not visible as it was in the area where the tiles overlap. It rained heavily, and we heard water dripping in the roof, so we called the installers who came out the next day, and discovered the culprit.
Leave a Reply